You’ll need a VCR, a USB converter, and a computer
Clarified a point below as to not mislead people into accidentally recording over their home movies.
There are countless ways to remind your family members that you love them. Preserving your home movies, entombed in rapidly-decaying VHS tapes, by converting them into digital files is a thoughtful (and often tear-jerking) way to do that. It’s one of those gifts that’s appropriate at any time in the year, whether you’re celebrating Father’s or Mother’s Day, a birthday, or any other occasion.
If you want to digitize your home movies, you have a few options to choose from. If you don’t have time to do it yourself, or if you need a specialist who can handle brittle, decades-old reel-to-reel tapes, the easiest way is to send your precious tapes to a service that can do it for you. This isn’t the most cost-effective method, though.
If you do have the time, converting home movies can be a simple, fairly inexpensive process. But you will need a few things to do it.
WHAT YOU NEED TO DIGITALLY CONVERT HOME MOVIES
Once you dig out your home movies from wherever it is that they’ve been hiding, you’ll need a few tools to get things kicked off:
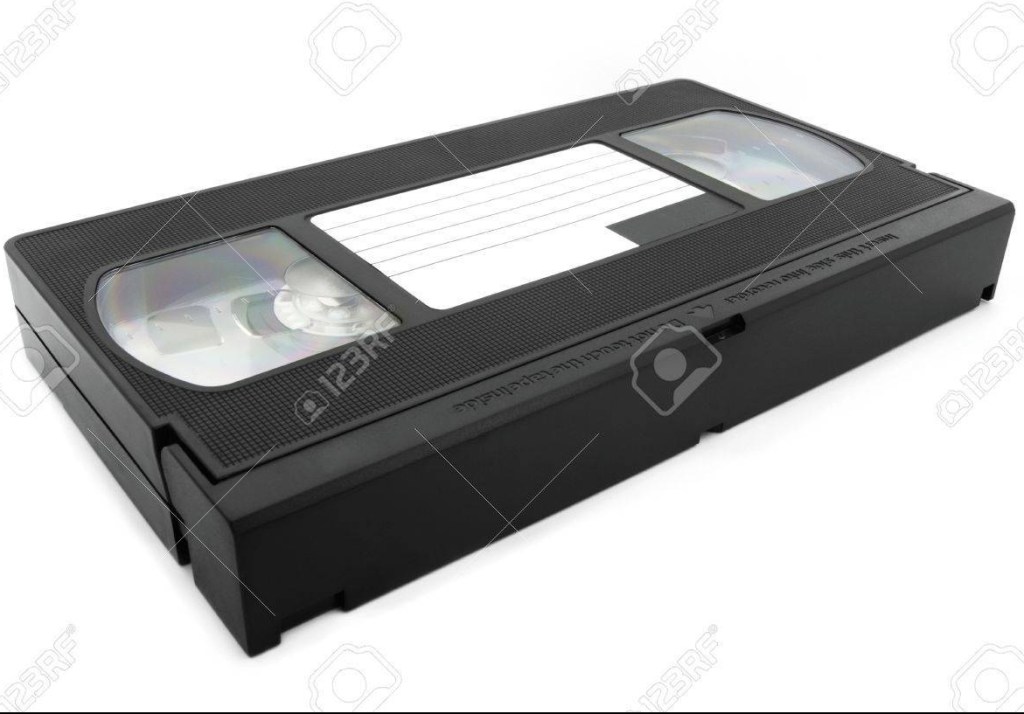
- A VCR
You will probably get decent results with just about any VCR. It needs to have video and audio composite jacks, which most models have, but make sure you know that it works before sticking in a valuable VHS tape. For the purposes of this guide, I used a small TV and VCR combo that The Verge had in the office.
It’s worth noting that you don’t actually need a TV for the digitizing process; the USB digitizer will display the tape’s contents on your computer’s screen with or without a TV.
- A USB-to-composite video converter
There are countless video-converting devices for sale online, starting as low as around $29. For this guide, I used Elgato’s Video Capture, which costs around $80, not the cheapest option. I chose it because I’ve enjoyed using the company’s game capture hardware in the past, and this model has good reviews on Amazon from people who praise its easy setup, good build quality, and solid software.
- A computer with an available USB port
Keep in mind that each digitizer has its own requirements. To use Elgato’s converter and its companion application, you’ll need a device running at least Mac OS X 10.6.8 or Windows 7. (Since you most likely own something more modern, don’t sweat it.)
- Several hours to spare (fewer depending on how many tapes you want to convert)
PREPARE TO DIGITIZE YOUR VHS TAPES
Once you have all of those things, it’s time to start getting things connected. The first step is to make sure that you download and install the converter’s software to your computer.
After that, connect your computer to your VCR using the USB video converter. Most consumer USB-based digitizers have a similar selection of plugs on one end to use with the VCR; a set of composite (red, white, yellow) cables and S-Video. If your VCR has an S-Video port, it’s a good idea to opt for that instead of the yellow composite jack for better video quality in the conversion process.
Elgato’s software was simple to use. Its interface walked me through naming the file, and ensuring that the video and audio feeds were coming through correctly before I started the converting process.
START THE PROCESS
Up until this point, the instructions have been specific to Elgato’s converter. The rest of the process should be the same no matter what converter you use.
Rewind the VHS tape to where you’d like to start the conversion, press play on your VCR, then hit record on your computer. The conversion process runs in real-time, so you can leave and do something else while you wait for the tape to reach its end. Personally, I’d recommend watching it to make sure that the tracking and audio don’t mess up during converting. If you don’t remember what tracking is, or weren’t alive during the VHS heyday, some VCRs allow you to adjust the tracking (in other words, the calibration) of a tape during playback to fix a wobbly, unclear picture.
